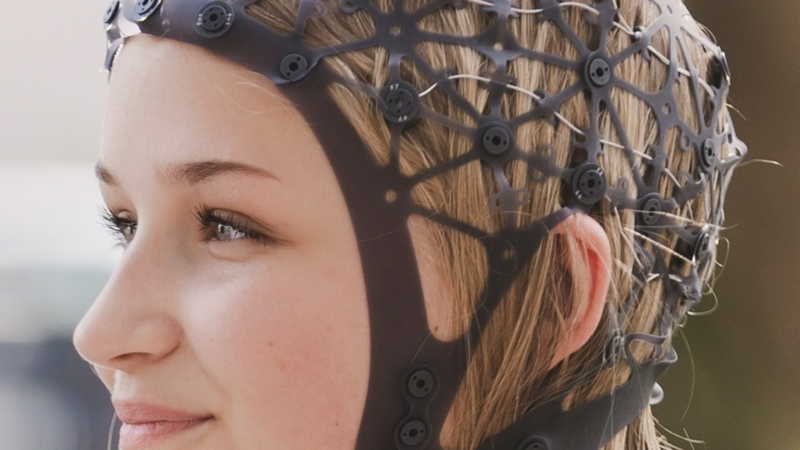
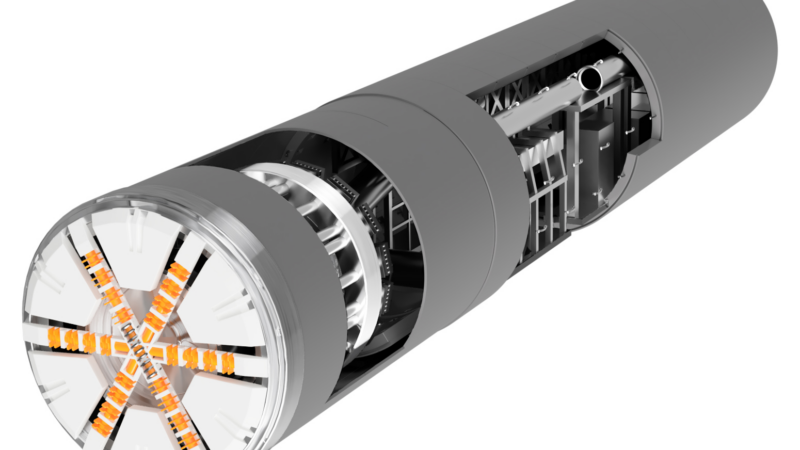
3D virtual tour of the new machine at „GEORG-Cinema“ at our booth.
At AMB GEORG presents the horizontal machining centers of the series ultraturn MC, which processes workpieces up to 250 tons and 4,000 mm diameter. With the successful commissioning of the first machine at Siemens AG in Berlin and installation of two additional machines GEORG is the world’s only manufacturer of machining centers of this size which implements the concept of working and measuring on the same machine.
At this year’s AMB GEORG presents the new horizontal machining centers of the series ultraturn MC in virtual reality: In the „GEORG-Cinema“ visitors will be equipped with 3D glasses which allow them to experience a machine longitude up to 30 m within one`s reach.
GEORG has developed the new machining centers for complete machining of complex workpieces up to 250 t weight and 4,000 mm diameter. They are used among others for the production of turbine and generator rotors as well as for compressors.
Recently, Siemens AG has granted acceptance for the new machining center at the Berlin plant. It is the world’s only machining center for workpieces with a weight up to 180 t where machining and measuring is implemented in the same machine. It processes workpieces with a diameter of up to 4,000 mm and a workpiece length up to 10,000 mm. Siemens already owns about 20 GEORG machines worldwide.
The experience gained from the operation of the installation of the new series shows that in addition to the significant increase in the workpiece precision it results in dramatic time savings in the machining of approximately 40 percent partly because it shortens non-productive times drastically. A machine of the new generation replaces several others in manufacturing who have previously bound not only personnel for manufacturing and maintenance, but also space and capital. It also simplifies the production planning significantly, since only one machining center performs all operations.
Georg has already delivered two other ultraturn MC machining centers which will soon go into operation. The machine GEORG currently assembled at Doosan Skoda in Pilsen / Czech Republic is designed for a workpiece weight up to 140 t with a diameter of up to 3,500 mm and a maximum workpiece length of 12,000 mm.
Jan Ebener, head of sales at GEORG´s machine tool division explains why his customer has opted for the ultraturn MC: „We are the only supplier worldwide who combined turning milling and grinding on one machine for workpieces with truly gigantic dimensions in a conclusively concept. And as in the order from Siemens only we could realize the workpiece measurement on the same machine. “
GEORG currently mounted another ultraturn MC at Iskra Turbogaz in Perm / Russia. In future workpieces with a weight up to 25 tons a diameter up to 2,500 mm and a workpiece length of up to 7,000 mm will be manufactured. They required, among others for compressors and pumps for the oil and gas extraction industry. For internal machining of these components the machine features scores like the combined turning and milling as well as the editing of complex contours which does not run parallel to the workpiece central axis. GEORG delivered all three machines according to customer requirements as complete solutions including peripheral systems.
Background: Measurement without setup changing
During machining of workpieces of that magnitude in different machines were previously set four to eight hours per machine for the change between the processing steps which has often accumulated weeks and months for complex workpieces.
The novelty is that GEORG has now integrated the quality control into the production. The ultraturn MC is the world’s first machining center which uses for the diameter measuring not only a single touch probe – as always usual. Placed at the milling tower the moveable two-point workpiece measurement system works – like a big micrometer screw – with two probes and measures the workpieces directly in the machine with high precision.
While the measuring diameters or axial run-out for workpieces of up to 2,000 mm with measuring machines may take several hours to complete the integrated system requires only a few minutes. With this feature Georg is a pioneer worldwide. In addition, the measurement is automatic and no employees of other departments must be called in to help.
Heinrich Georg at AMB 2016 in Stuttgart
13th until 17th of September 2016:
Hall 9 / booth D51
www.georg.com
Firmenkontakt
Heinrich Georg GmbH Maschinenfabrik
Jan Ebener
Langenauer Straße 12
57223 Kreuztal / Germany
+49. 2732 779-306
+49. 2732 779-316
wzm@georg.com
www.georg.com
Pressekontakt
VIP-Kommunikation
Regina Reinhardt
Dennewartstraße 25-27
52068 Aachen / Germany
+49.241.89468-24
+49.241.89468-44
reinhardt@vip-kommunikation.de
www.vip-kommunikation.de


